Build security
Software Supply Chain — Build Security
Introduction
You will work again with a Python-based application called cicdiaries, which is hosted in the cloud-security-lab GitLab repository.
Note
Instructions on how to login to the platform should have been sent to you by email.
Exercises and objectives
Exercises
You will work again with a Python-based application called cicdiaries, which is hosted in the cloud-security-lab GitLab repository. There is a copy of the repository for everyone of you accessible on the Gitlab website.
Exercises: an overview
You will interpret the role of a DevSecOps consultant that has been tasked with:
- Implementing a CI/CD pipeline:
- The pipeline will install, test and build the application
- Containerize the application
- Push the container to a private container registry
- Implement provenance and artifact verification
- Discuss some security considerations of the pipeline
Objectives
Objectives in a nutshell
The main objective of this lab is to give a high level view of CI/CD pipelines and the security guarantees that are given by the platform, runners and pipelines.
How the final pipeline should look like
Below is a high-level diagram of the pipeline's structure:
graph TB
subgraph Install[Install]
direction TB
A1[Install dependencies]
end

subgraph Test[Test]
direction TB
B1[Lint code]
B2[Test code]
B3[SAST check]
end

subgraph Containerize[Containerize]
direction TB
C1[Build container]
C2[Push container]
C3[Sign image]
end

Install --> F[Build app]
Install --> Test
F --> Containerize
F --> G[Create Release]
Test --> Containerize

classDef default text-align:centerPipeline terminology
A Gitlab pipeline is divided in stages. A stage represents a group of closely related functions or commands which are called jobs. A job is a single unit of work that can be executed independently by a runner. Indeed the concepts of stages and jobs help to parallelize the workflows.
In the diagram above, Test is a stage and "Lint code", "Test code" and "SAST check" are jobs belonging to that stage. In principle, they can be executed in parallel if multiple runners are available.
Create a simple CI script
In Gitlab there is a main ci script file named .gitlab-ci.yml. Create one in your repository with the following content:
# .gitlab-ci.yml
image: python:3.12 # Docker image to use

stages:
  - install # Define the steps of the pipeline

variables:
  PROJECT_NAME: "cicdiaries"  # Define environment variables


install:
  stage: install
  script:
    - python --version ; pip --version  # Debugging
    - echo $PROJECT_NAME
    - printenv
You should see something like thwe following:
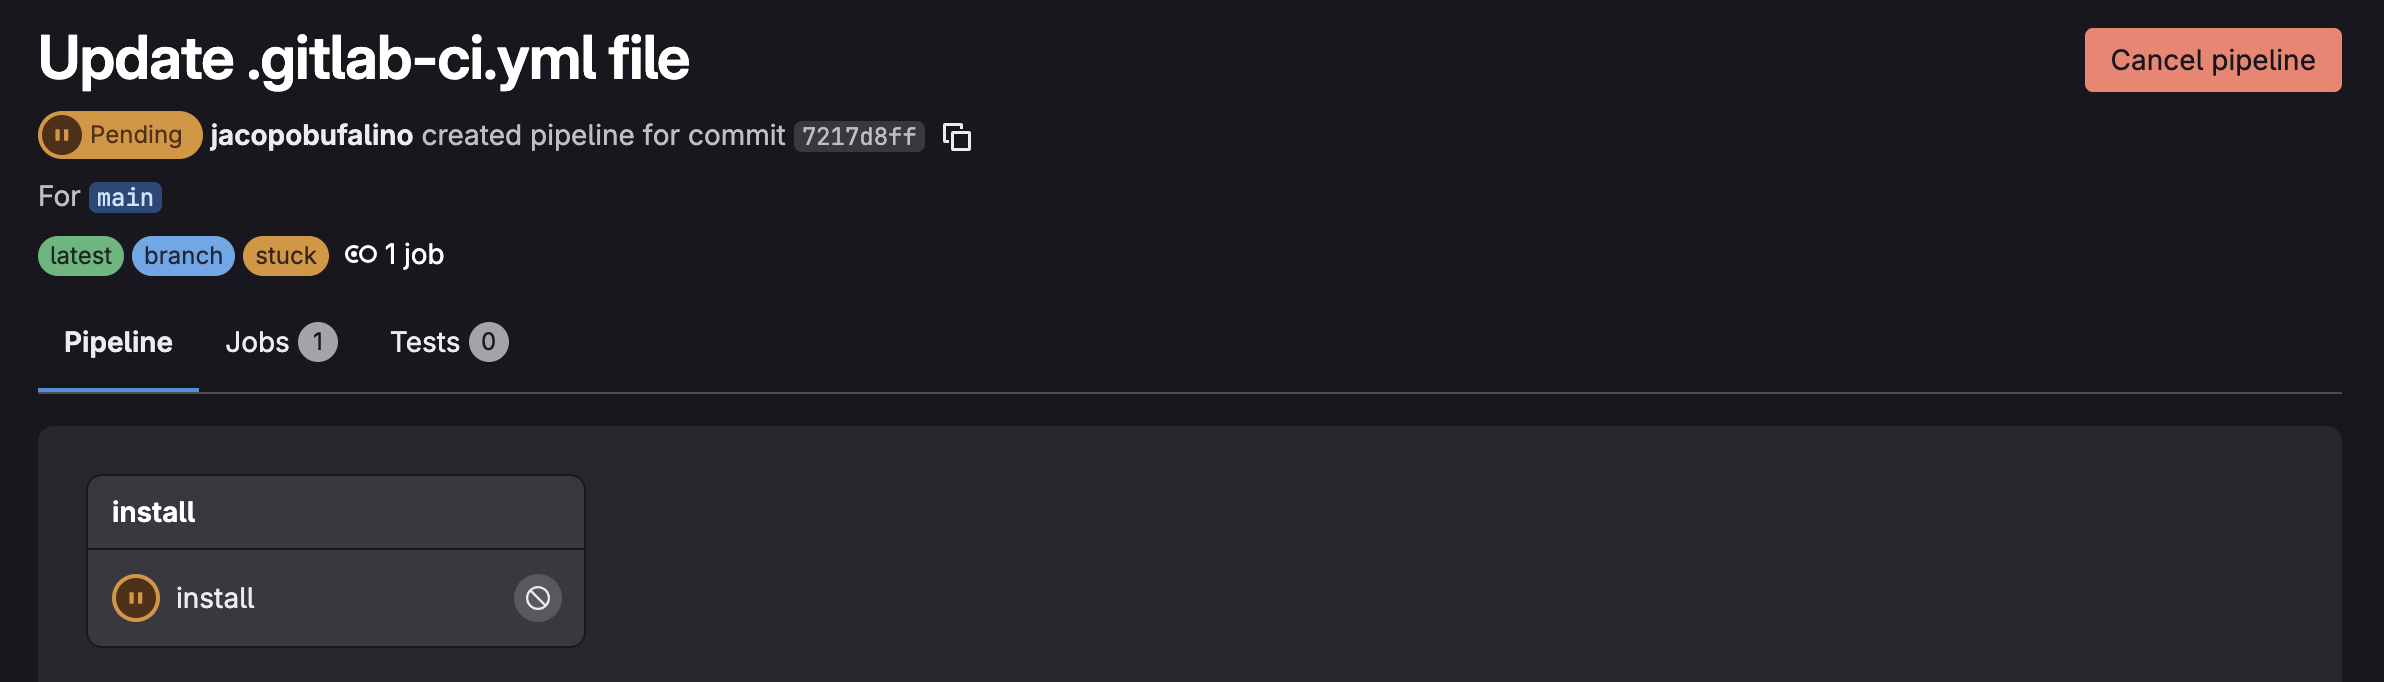
The reason for the pipeline not working is that we do not have any runners available.
Create a runner
A runner is a cli tool that connects to the Gitlab instance (in this case to your own individual project) and runs the CI jobs in a controlled environment. To do that, you first generate an access token in Gitlab and then you pass it to the runner so that they can initiate a secure connection. In this case you will host the runner on your own computer using docker.
1. Run the docker compose stack
Download the provided docker-compose file
Run the stack:
docker compose -f docker-compose.runner.yml up -d
2. Obtain the Gitlab token
From the Gitlab project page go to: Settings > CI/CD > Runners and click on Create project runner.
Click the box run untagged jobs and continue
You should now have access to the token in the form of glrt-******
3. Instanciate runners
In principle, for easy pipelines is enough to invoke the runner with: docker compose exec runner gitlab-runner register --url https://gitlab.jackops.dev --token <TOKEN>.
However, we want to customize the runner a bit more. We want to add the capability to build and run container images and we want to make it sure it works within docker.
To do that, download the provided configuration, add your own token and
store it under the data/gitlab-runner folder which should be in the same directory where the docker compose is running.
Note
A complete list of configuration options is available in the Gitlab documentation
If everything is running fine, you should see the pipeline running on Gitlab.
Environment Variables
Here is a list of the default GitLab CI/CD variables. Those include also the ones to connect to the gitlab container registry.
The command printenv in the pipeline should show the variables that are available in CI.
Provided Materials
The comands used to build and test the app are the same you used in the last lab and you are supposed to use those instructions to populate the pipeline. You can refer to the README.md of the repository.
Apart from that I will provide you with:
.gitlab-ci.yml: Template CI/CD pipeline configuration. You'll need to fill in the logic for each stage and configure dependencies between them.Dockerfile: A minimal Dockerfile to build the app.
.gitlab-ci.yml
While the previous CI file was useful to test our runner, here you will find the template to use for this lab:
image: python:3.12 # Primary docker image to use (you can override this for each job)

stages:
  - install # Define the stages
  - test
  - build
  - release
  - containerize

variables: # Those are global variables that will be inherited by all jobs
  PROJECT_NAME: "cicdiaries"
  VENV_PATH: .venv
  IMAGE_TAG: "$CI_REGISTRY_IMAGE:$CI_COMMIT_SHA"
  #RUNNER_GENERATE_ARTIFACTS_METADATA: true
  IMAGE_URI: $CI_REGISTRY_IMAGE:$CI_COMMIT_SHA


install_deps:
  stage: install
  script:
    - pip install virtualenv
    - virtualenv $VENV_PATH
    - echo "Implement me!" # TODO: install the appm dependencies

code-audit:
  stage: test
  script:
   - echo "Implement me!" # TODO: run code auditing


test:
  stage: test
  needs: [install_deps] # This means that this job must be executed after the app has been installed
  script:
   - echo "Implement me!" # TODO: run tests for the app


lint:
  stage: test
  needs: [install_deps]
  script:
   - echo "Implement me!" # TODO: lint the code

build_binary: # This is a complete step that builds a binary out of the cicdiaries app.
  stage: build
  script:
    - pip install pyinstaller
    - pip install -r requirements.txt
    - |
      pyinstaller --onefile \
      --add-data "app/website/templates:website/templates" \
      --add-data "app/website/static:website/static" \
      app/wsgi.py
    - tar -czf cicdiaries-binary.tar.gz dist/
  artifacts: # This is a keyword used to tell the pipeline to generate a new artifact
    paths:
      - cicdiaries-binary.tar.gz
    expire_in: 1 week

create_release:
  stage: release
  image: registry.gitlab.com/gitlab-org/release-cli:latest
  dependencies:
    - build_binary
  script:
    - echo "Creating release..."
  # TODO: Create a new release only when a git tag is pushed! see: https://docs.gitlab.com/user/project/releases/release_cicd_examples/#create-a-release-when-a-git-tag-is-created
  # you should also link the artifact that has been generated in the previous job

build_push_image:
  stage: containerize
  image: docker:latest # Here we set a new image to run the job
  before_script:
    - echo "$CI_REGISTRY_PASSWORD" | docker login "$CI_REGISTRY" -u "$CI_REGISTRY_USER" --password-stdin

  script:
   - echo "Implement me!" # TODO: build and push the image to the registry


sign_image:
  stage: containerize
  image: docker:latest
  variables:
    COSIGN_YES: "true"
    COSIGN_REGISTRY_REFERRERS_MODE: "legacy"
    COSIGN_EXPERIMENTAL: 1

  before_script:
    - apk add --update cosign jq

    - echo "$CI_REGISTRY_PASSWORD" | docker login "$CI_REGISTRY" -u "$CI_REGISTRY_USER" --password-stdin

  script:
    - DIGEST=$(docker inspect --format='{{index .RepoDigests 0}}' "$IMAGE_URI")
    - echo "Implement me!" # TODO: use cosign to sign the image.
This pipeline should fail at the sign_image step while the other steps should complete without errors.
Dockerfile
FROM python:3.13-alpine

# Set working directory
WORKDIR /app

# Install required packages
RUN apk add --no-cache \
    gcc \
    musl-dev \
    sqlite \
    sqlite-dev \
    curl \
    unzip \
    make

# Download and build SQLite json1 extension
RUN curl -O http://sqlite.org/2016/sqlite-src-3140100.zip && \
    unzip sqlite-src-3140100.zip && \
    gcc -g -fPIC -shared sqlite-src-3140100/ext/misc/json1.c -o json1.so && \
    rm -rf sqlite-src-3140100.zip sqlite-src-3140100

# Copy application files
COPY requirements.txt .
COPY app/ /app/

# Install Python dependencies

# Default command
CMD ["flask", "run"]
Install, lint and test stages
These steps should be quite straightforward to implement as their content mirrors the one from the previous lab. However, you may notice that information is not passed along the jobs and stages of the pipeline. This is by design as the idea is to run "independent" scripts. Pay attention to the dependencies between the stages and jobs.
Using caches
Sometimes we need to speedup CI/CD workflows. This is because cloud runners are expensive and billed by runtime. So a common practie is to use caches for commonly used files which do not likely change like dependencies.
In Gitlab you declare caches using this format:
jobname:
  stage: mystate
  cache:
    key:
      # Keys can be string values or files for which the system
      # computes a hash and when the hash changes the cache is invalidated.
    paths:
      # Paths to restore from the cache
Your objective now is to add caches to your pipeline, therefore avoiding to reinstall the same dependencies all the times.
Info
You should refer to the official guide to setup caches: https://docs.gitlab.com/ci/caching/
Once you implement the caching mechanism, you should see this warning in the CI UI:
No URL provided, cache will not be downloaded from shared cache server. Instead a local version of cache will be extracted.
This essentially means that the build cache will be installed locally.
Cache poisoning
Since the cache is stored locally, we are in control of it. So we can edit the content and replace it with something else!
Can you find a way to modify the content of the cache?
Can you think about some counter-measures for this threat?
Build stage
In this stage we package the app as a single binary.
While this is not really the point of the app, it helps understanding the process of building an artifact for e.g., a standalone application, a cli or a library.
At the end of this stage we get a zip file with the content of the build.
Now try to enable the RUNNER_GENERATE_ARTIFACTS_METADATA variable.
This time you should also get something else together with the build.
Question
What is the content of the metadata? How can this be useful?
Release stage
In this stage you will have to create a release every time a new git tag is created.
Question
What happens if you overwite or delete the tag?
Building the image
Use the docker cli commands to build and push the container image.
Then, try to pull the image locally.
Info
In real production environment, we want to avoid pushing broken container images because they occupy space and resources. A good production-like pipeline would first test the container.
Create a docker compose file to tests that the container image works and successfully receives requests on the /health endpoint. Then create a new job to test the container in the CI pipeline.
Sign the container image
We use cosign to sign the container image and add additional properties to the signature. The first step is to create a private-public signing key using cosign generate-key-pair. You will then upload the keys as environment variables in Gitlab (never add them in plaintext in the .gitlab-ci.yml file!!).
From there on you can use cosign to sign and verify the image.
Can you find the signature information in the rektor logs?